
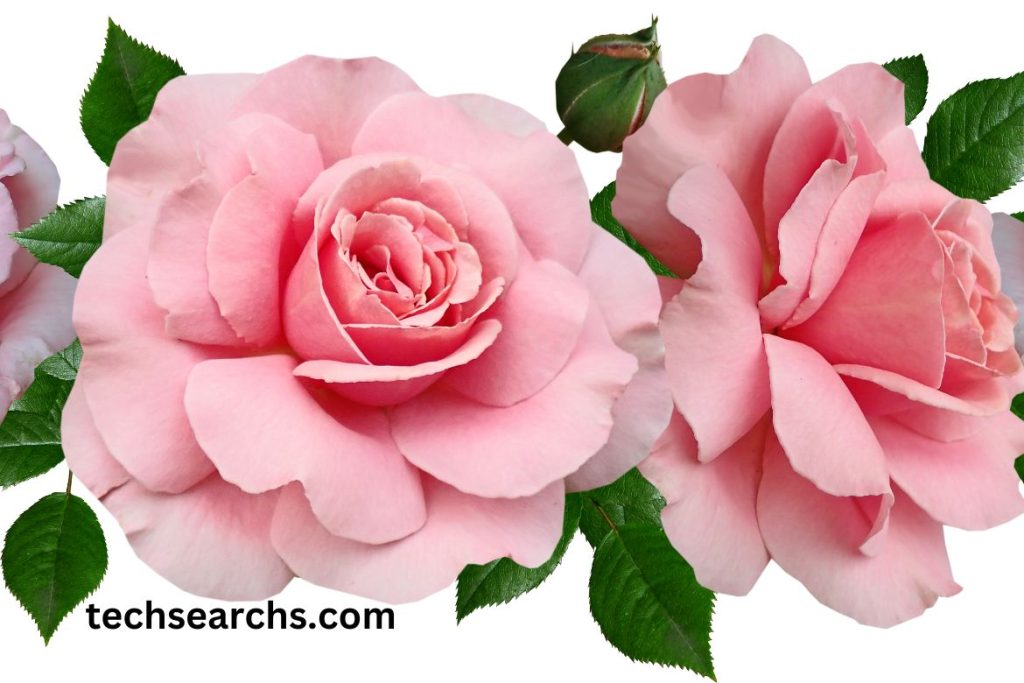
Drawing: Kkbuebxxlzy= Rose: A Comprehensive Guide
Ah, the Drawing: Kkbuebxxlzy= Rose – nature’s timeless symbol of love, beauty, and passion. As an artist, there’s something truly captivating about capturing the delicate curves and intricate layers of a rose on paper. But let’s face it, drawing roses can be a thorny challenge for many. Fear not! This guide will walk you through the process, petal by petal, helping you blossom into a confident rose artist.
Why Roses are Popular Subjects
Ever wondered why roses are such a hit among artists? It’s simple – they’re the supermodels of the flower world! Their symmetrical beauty, varied colors, and symbolic meaning make them irresistible subjects. Plus, who doesn’t love a good challenge?
Brief History of Rose Art
Drawing: Kkbuebxxlzy= Rose have been stealing the spotlight in art for centuries. From ancient Egyptian hieroglyphs to Renaissance paintings, these blooms have left their mark. Remember those still-life paintings with impossibly perfect flowers? Yep, roses were often the stars of the show.
Essential Tools for Drawing Roses
Before we dive in, let’s talk shop. Having the right tools can make or break your rose-drawing experience.
Choosing the Right Paper
Your paper choice can be as crucial as picking the perfect rose for a first date. Smooth, high-quality paper will make your lines flow like honey. Think of it as the dance floor for your pencil’s performance.
Pencils and Erasers
A range of pencils (from 2H to 6B) will be your best friends here. And don’t forget a good eraser – mistakes happen, even to the pros!
Additional Materials
Consider adding blending stumps, a kneaded eraser, and maybe even some colored pencils to your arsenal. They’re like the backup dancers that make your star (the rose) shine even brighter.
Understanding Rose Anatomy
Now, let’s get to know our subject a little better. Understanding the structure of a rose is like learning the choreography before you dance.
Petals and Their Arrangement
Drawing: Kkbuebxxlzy= Rose typically have five petals in their simplest form, but cultivated varieties can have dozens. They’re arranged in a spiral pattern that can make your head spin – in a good way!
Stem and Leaves
Don’t forget about the supporting cast! The stem and leaves add character and realism to your drawing. Plus, they’re great for practicing different textures.
Step-by-Step Rose Drawing Technique
Alright, it’s showtime! Let’s break down the process into manageable steps.
Sketching the Basic Shape
Start with a light touch, sketching the overall shape of the rose. Think of it as a rough circle for the bloom and a line for the stem. It’s like drawing a lollipop, but way prettier!
Adding Petals and Details
Now, let’s add some personality. Sketch in the individual petals, starting from the center and working your way out. Remember, roses aren’t perfect – embrace those little imperfections!
Shading and Texturing
This is where the magic happens. Use varying pressure to create light and shadow, bringing your rose to life. It’s like adding spice to a dish – it transforms the entire experience.
Common Challenges and How to Overcome Them

Even the most seasoned artists face obstacles. Let’s tackle some common rose-drawing hurdles.
Capturing Petal Curves
Struggling with those graceful curves? Try breaking them down into smaller, manageable lines. It’s like learning a complex dance move – practice the individual steps before putting it all together.
Creating Depth and Dimension
Flat roses are sad roses. Use shading to create depth and make your rose pop off the page. Think of light and shadow as your rose’s contouring makeup – it defines and enhances its natural beauty.
Tips for Improving Your Rose Drawings
- Observe real roses whenever possible. Nothing beats studying the real thing!
- Practice, practice, practice. Rome wasn’t built in a day, and neither is rose-drawing expertise.
- Experiment with different perspectives. A rose by any other angle would look as sweet!
- Don’t be afraid to make mistakes. They’re not thorns in your side, but opportunities to learn.
- Try different mediums. Pencil, charcoal, watercolor – each brings out a unique aspect of the rose.
Conclusion
Drawing roses is an art form that combines technical skill with creative expression. Like tending to a real rose garden, it requires patience, care, and a bit of love. But with practice and the right techniques, you’ll soon be creating stunning rose drawings that capture the essence of these beloved flowers.
Remember, every artist’s journey is unique. Your rose drawings will reflect your personal style and interpretation. So, pick up that pencil, smell the roses (figuratively or literally), and let your creativity bloom!
FAQs
There’s no set timeline – it varies for each person. With regular practice, you could see significant improvement in a few weeks to months.
Absolutely! Reference photos are excellent tools, especially when live roses aren’t available.
Observe the unique shapes and shadows created by curling or damaged petals. These imperfections often add character to your drawing.